Dev Blog - How to build a holodeck, week five
Constructing realtime texture atlases is trickier than I expected. No videos this week, mostly because there’s nothing terribly cool to show.
Progress this week
The beginning of the week went very well - I got my COLLADA exporter working, and (barring a few niggles here and there) it’s proving very useful. I’ve managed to export a selection of meshes from my test environments, and they are giving me exactly the results I expect - which is to say, badly frozen chunks of geometry which need fixing up, welding and texturing.
see my COLLADA exporter post for a lot more details.
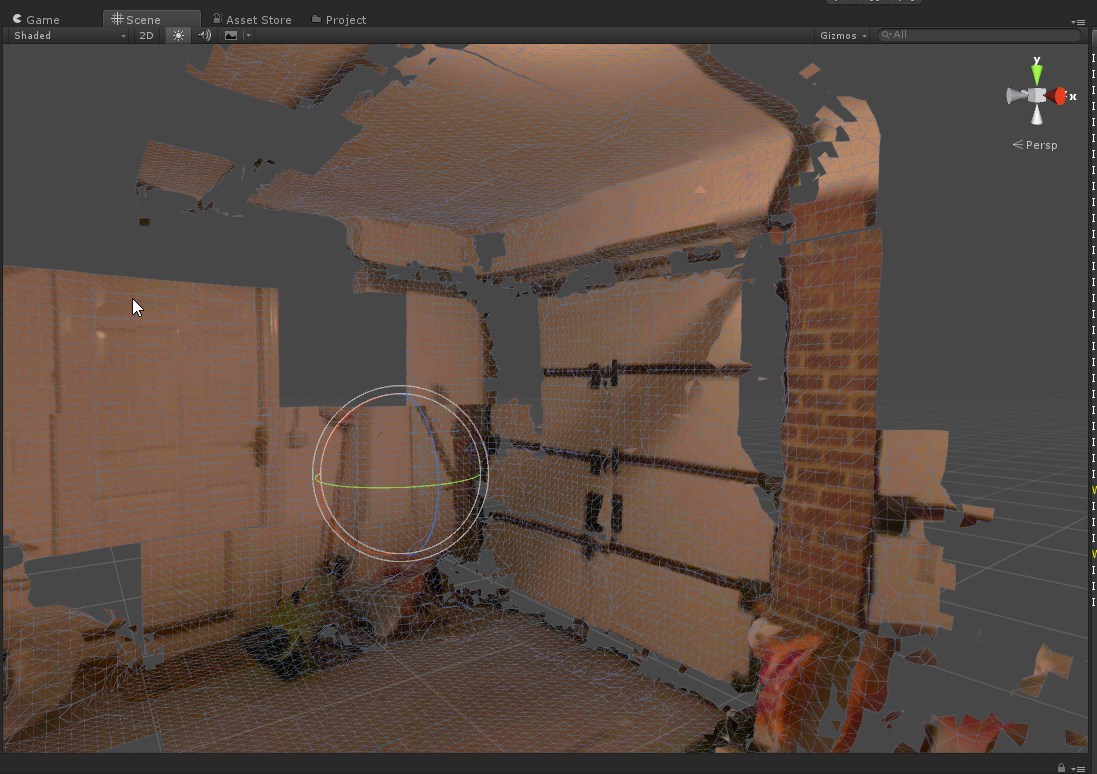
Once I got this working properly (the beginning of Thursday morning) I moved on to trying to improve the quality of the mesh. This is currently a big work in progress, and I’m expecting to nail the texture capture next week, hopefully.
Iteration cycle
Testing texture projection is an interesting process to me. I’ve got some things that are given - the device position in world space, according to Tango, some mesh information (vertex positions and triangles) in world space, a texture (coming from the colour camera) and a pose (the orientation and position of the colour camera at the time the frame was taken).
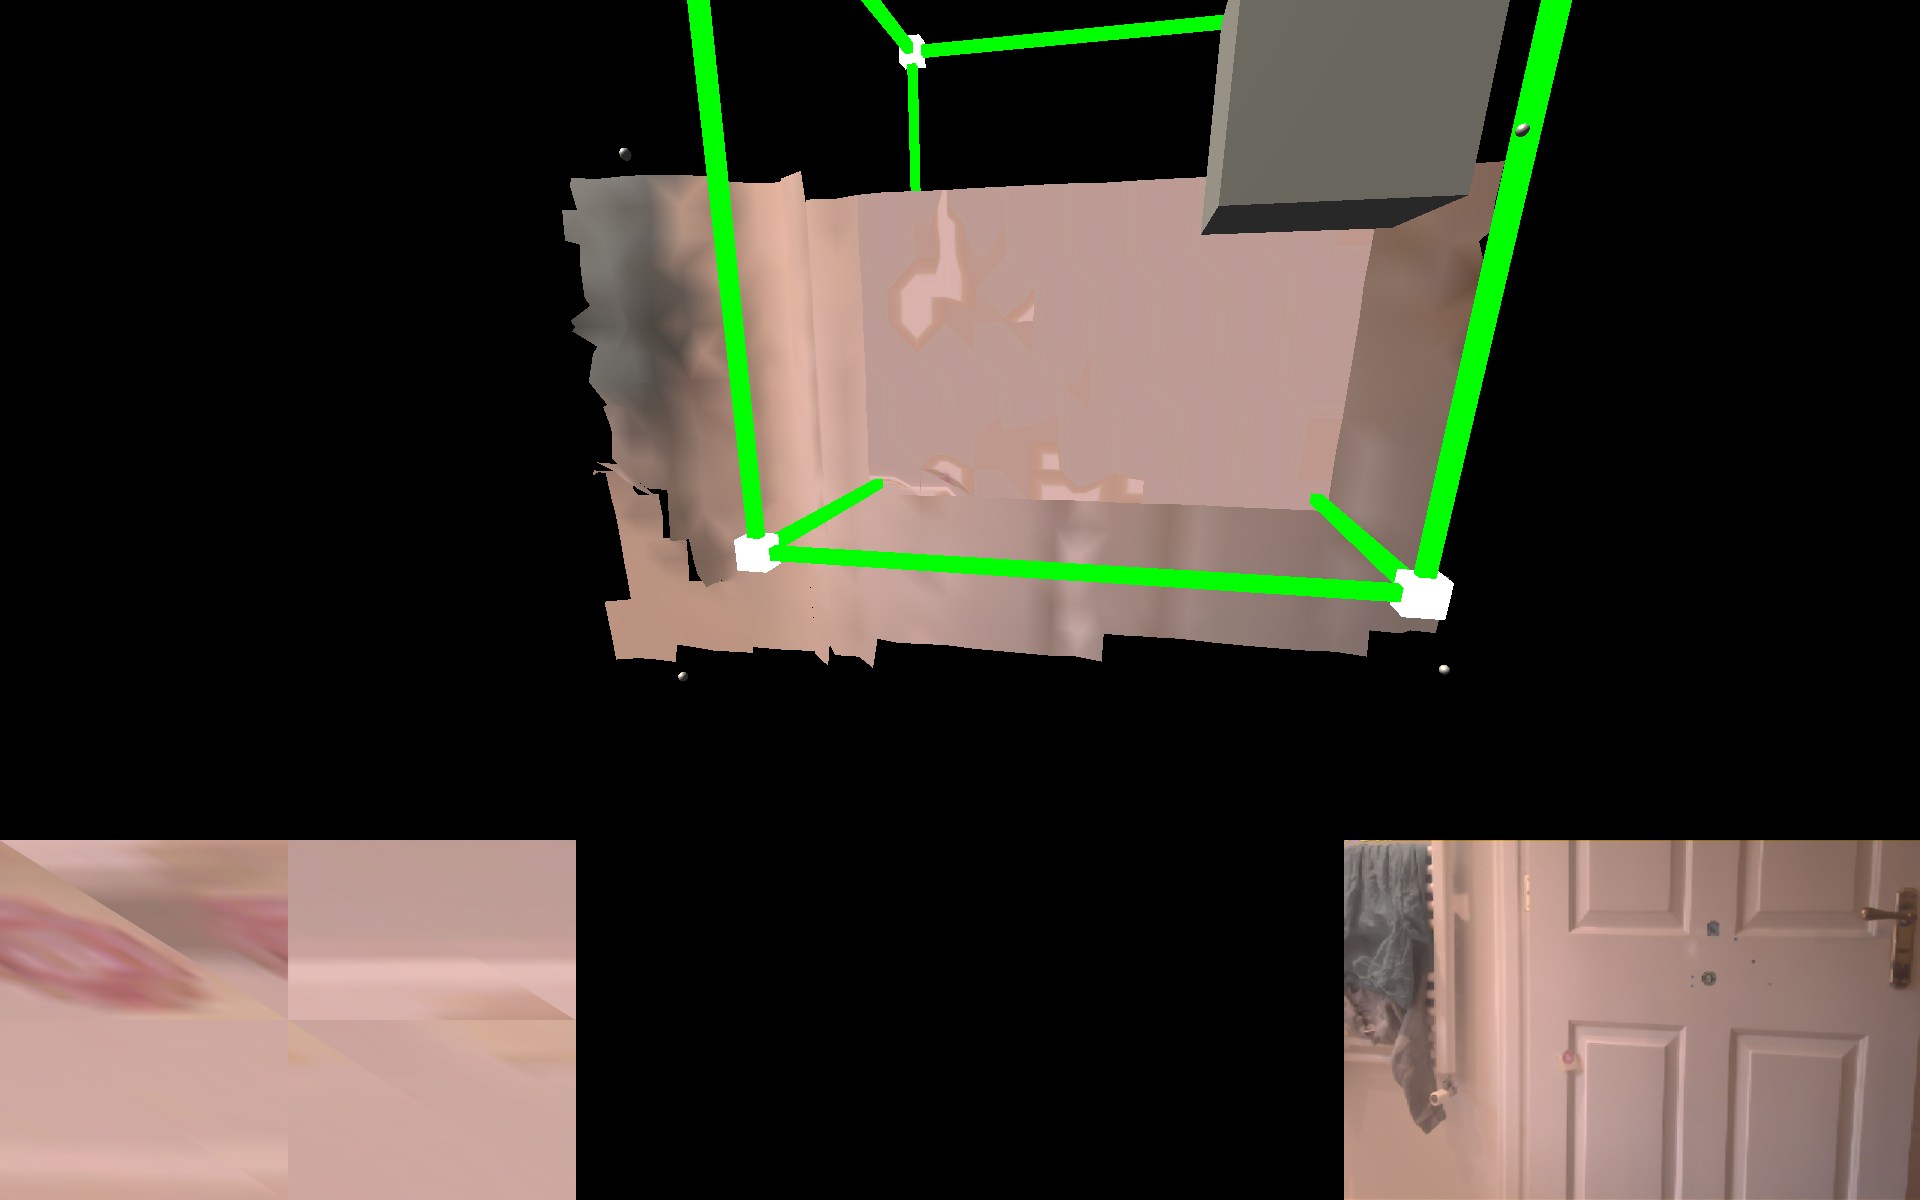
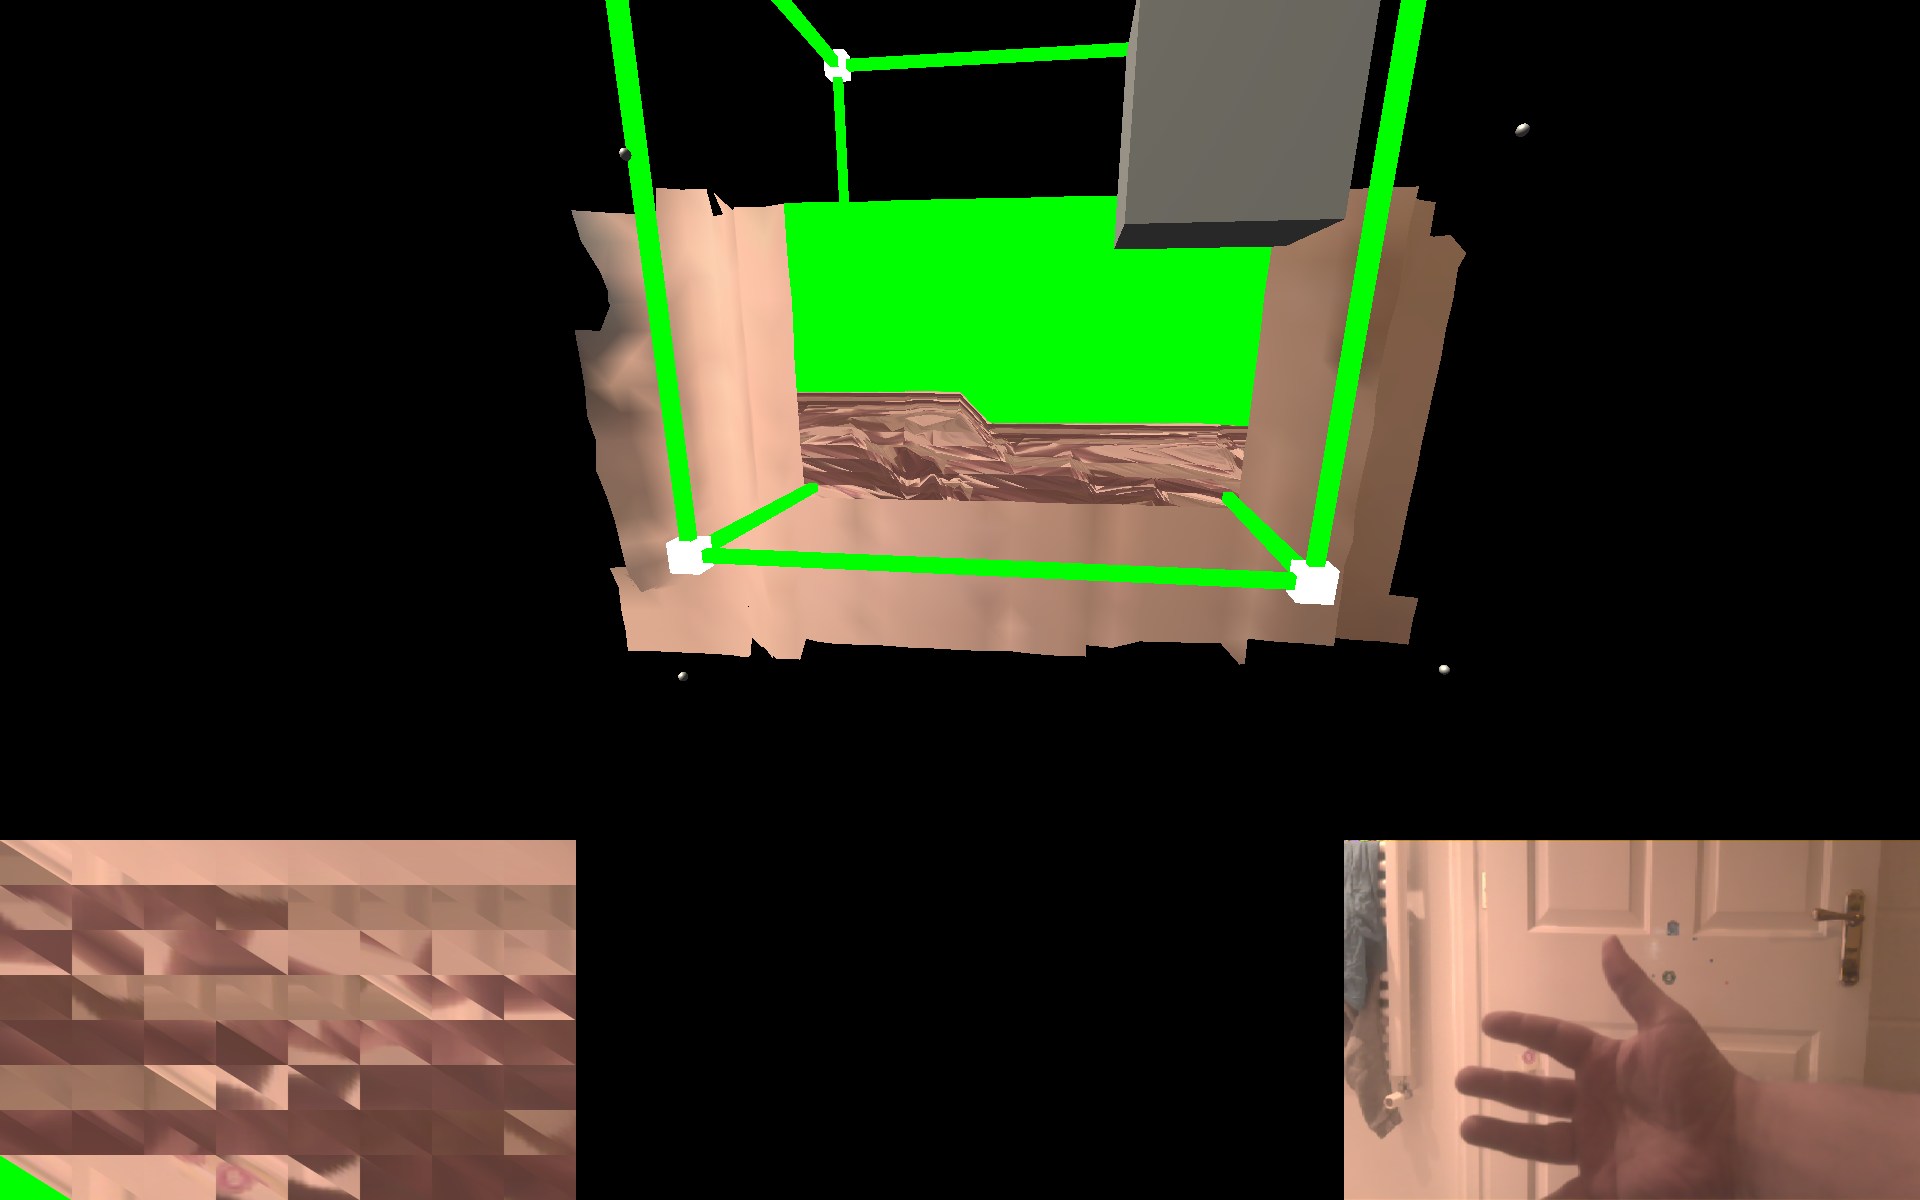
To debug any problems, I need to get some information in to the system (mesh data, camera pictures) and get some information out (log lines, screen snapshots, saved rendertextures, etc). This process takes about 2 minutes to cycle.
First, you have to make relevant changes to the program (for instance, adding a new debug visualisation tool to show where a cube is, or to change one of the algorithms running the meshing). This can take seconds or hours, depending on what we’re trying to achieve.
Second, you have to build the project, deploy it to device, and start running it. This is all automated by Unity, and takes around a minute on my current hardware. Pushing the content is a big chunk of that time, so keeping the project itself as minimal as possible is key to iterating here. Leaving test versions of the asset in the scene, disabled, really doesn’t help here, and it’s a bad habit I need to get out of.
Once the app is running on device, you have to accept the google permissions for tango (every time you build!) and then you’re in and running. At this point, I have an ADF auto-loaded, and my Tango standing at a certain angle such that it’s looking at the same piece of wall every time, and hopefully the ADF will lock in straight away. Some of the time (based on lighting condition variance, mostly) the ADF locks instantly. Some of the time, you have to wave the Tango around, which means it’s not in quite the same place next time you run the app.
Then, once you’re locked in, you have to repeat some process to get the required data out. I’ve got this down to a couple of button presses on my bluetooth keyfob, so my normal test cycle on device is <2 mins - but this is about 100 seconds too slow for my liking.
Testing in the editor
This would be vastly preferable for iteration time, but to make that work, I’ll need some representative data sets for the mutable mesh and the camera picture - both of which I now have decent source assets. doing this will save me a huge amount of time when the change itself takes 5 seconds. before I had the collada exporter, I could only really work with a fake chunk of geometry - now I can use a piece of my garage that actually matches up to what I see (assuming I’ve got everything lined up properly).
How does the atlas work?
Short answer right now - It doesn’t. yet.
Magic sauce here. Take a picture, figure out the best triangles on the mesh to use, check if the triangle has a better picture already, and if not, grab that to the atlas. Mesh destination UVs shouldn’t change after I’ve applied the atlas texture, but the screenspace coords of the triangle will move around relative to the picture. The triangle normal is important, as is the screenspace area of the triangle (Aside - why did I never learn Heron’s Formula at school? maybe I did and forgot, but it’s certainly a lot simpler to understand than messing about with all the angles).
Once you’ve figured out the right image to store, you’re golden. This is where I’m up to, this week.
Applying the atlas is going to up the texel density by at least 2-3 times, so the mesh texture fidelity should be much better than my test pictures. Because I’m only storing what you see (and hopefully the best version of that for each triangle)
Next week …
Going on holiday! (and maybe a little bit of getting the texture feed working). One of the main things I’ve been looking forward to about this venture is having more time with the family, so there’s going to be some dinosaurs seen this week.
Hasta, all! And a good Easter to you!